Essential Hair Styling Tools for Beginners: What You Actually Need
Starting to style your own hair can feel more complicated than it needs to be. There are brushes, combs, dryers, straighteners, curling irons, wands, rollers, diffusers, heated brushes, and multi-stylers everywhere you look. The good news is that hair styling tools for beginners do not have to mean buying a whole drawer of equipment.
A small, well-chosen toolkit can handle most everyday hairstyles. The right choices depend on your hair texture, length, styling goals, and how often you use heat. This guide breaks down what is worth having first, what is useful only in certain situations, and what you can comfortably skip.
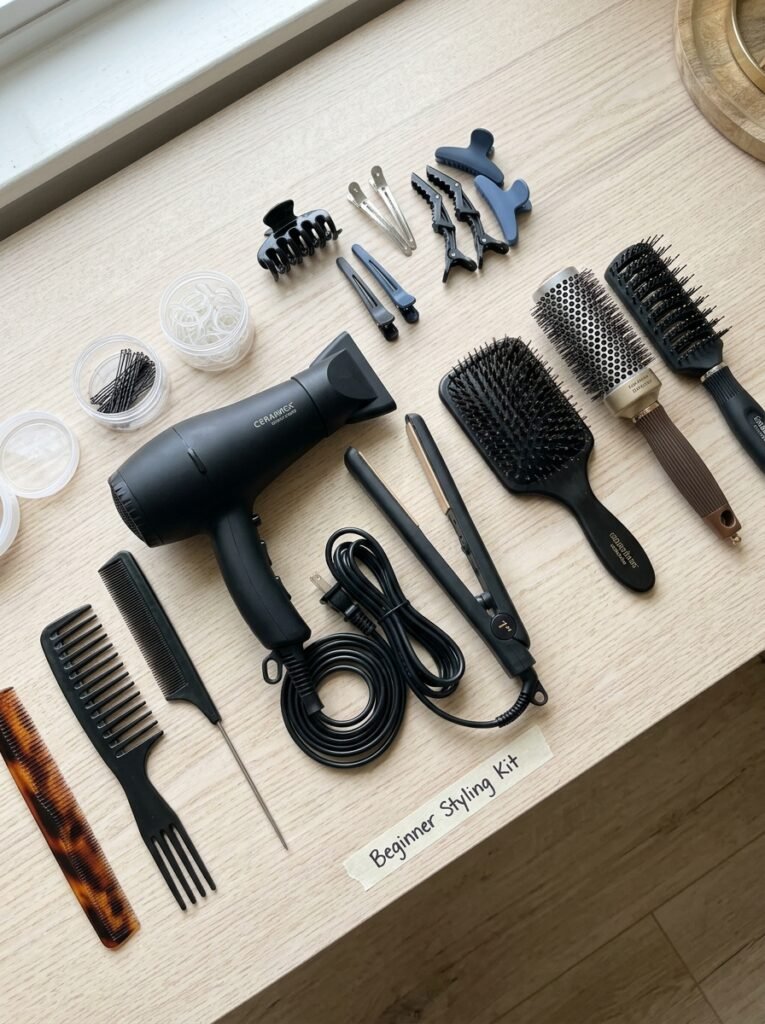
What Hair Styling Tools Does a Beginner Really Need?
For most beginners, the best approach is to start with tools that solve common problems rather than buying one tool for every possible hairstyle.
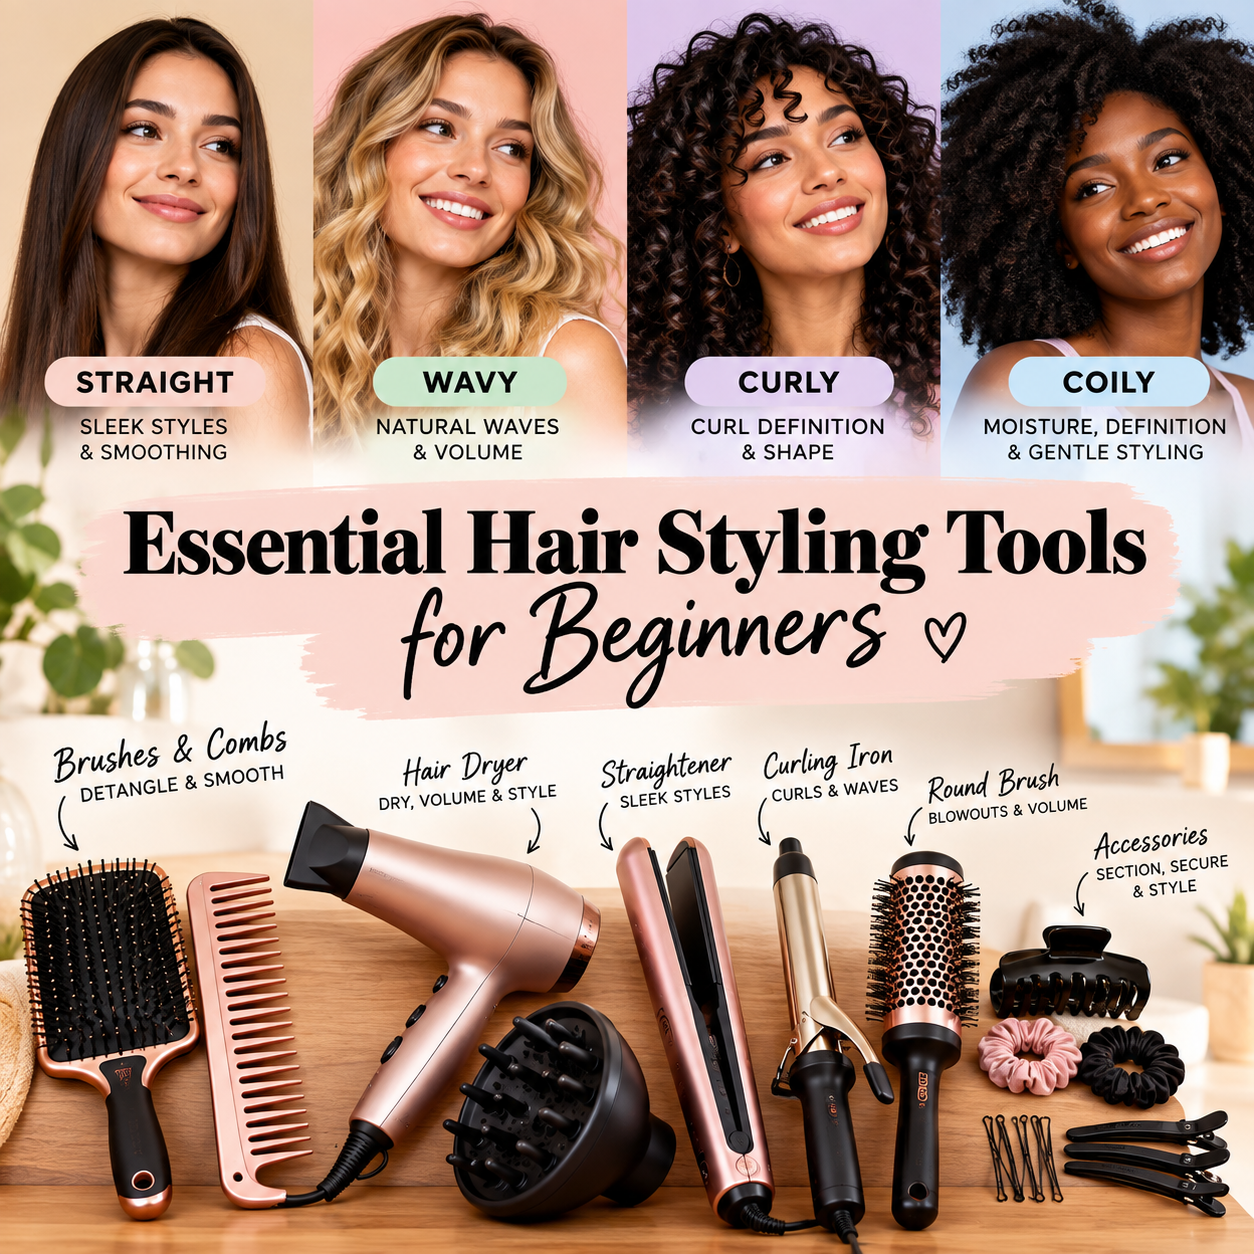
| Need | Tool | Priority | Main reason |
|---|---|---|---|
| Detangling | Wide-tooth comb or detangling brush | Essential | Helps prepare hair before styling |
| Everyday brushing | Hair-type-appropriate brush | Essential | Smoothing and everyday styling |
| Sectioning | Sectioning clips | Essential | Gives you better control |
| Securing styles | Elastics and bobby pins | Essential | Useful for ponytails, buns, braids, and updos |
| Drying | Hair dryer | Conditional | Useful if you regularly blow-dry |
| Straight styles | Flat iron | Goal-dependent | Useful for sleek or straight looks |
| Curls and waves | Curling iron or wand | Goal-dependent | Useful when curls or waves are a priority |
| Curl definition | Diffuser | Hair-type dependent | Particularly useful for many wavy and curly routines |
| Blowouts and volume | Round brush | Optional | Useful but takes more coordination |
The important point is that “essential” does not mean essential for every person. A diffuser may be one of the most useful tools for someone with naturally curly hair and completely unnecessary for someone who almost always wears straight, air-dried hair.
The simplest rule
Buy according to the hairstyles you actually want to create.
Do not build your toolkit around the number of tools you see in a beauty video.
Before You Buy: Match the Tool to Your Hair and Your Goal
The right tool can make styling easier, but there is no single brush or heat tool that is best for everyone.
Start by thinking about four things.
1. Your hair texture
Your hair may be primarily:
- Straight
- Wavy
- Curly
- Coily or tightly textured
Texture affects how easily hair tangles, how you work with sections, and which styling methods are practical.
For example, a person with curls may benefit from a diffuser and texture-friendly detangling routine, while someone with straight hair may get more use from a paddle brush and flat iron.
2. Fine or thick hair
“Fine” describes the thickness of an individual strand, while people often use “thin” to describe lower overall density. They are not exactly the same thing.
Fine hair can require more careful control of heat and tension. Thick or dense hair often benefits from smaller sections and tools that can handle longer drying or styling sessions efficiently.
3. Hair length
Short hair may be easier to handle with smaller brushes and more precise styling tools. Long hair often makes sectioning more important, especially when drying or using heat.
4. Your styling goal
Ask yourself what you actually want to do:
- Detangle
- Smooth
- Straighten
- Curl
- Create waves
- Add volume
- Define curls
- Create a blowout
- Make quick everyday hairstyles
- Create ponytails, buns, braids, or other updos
This question can eliminate several unnecessary purchases before you spend any money.
The Core Tools Every Beginner Should Know
Wide-Tooth Comb
A wide-tooth comb is a simple but useful tool, especially for people who need gentle detangling.
It can help separate knots with less aggressive pulling than a fine-tooth comb. However, wet hair needs different handling depending on texture. The American Academy of Dermatology’s hair-styling guidance notes that wet hair breaks more easily when combed or brushed, while people with tightly curled or textured hair may benefit from brushing while the hair is wet to reduce breakage.
For many people, the practical approach is to work gently from the ends upward rather than forcing a comb through a knot.
Good for: Detangling, preparation, curls and longer hair.
Beginner level: Easy.
You can skip it when: Your preferred detangling brush already works well for your routine.
Detangling Brush
A detangling brush is another option for removing knots. Some people prefer its flexibility and feel, while others find a wide-tooth comb easier to control.
There is no reason to own several detangling tools simply because they all look different. Try one method that suits your hair and use it consistently.
Good for: Gentle detangling and everyday preparation.
Beginner level: Easy.
Watch out for: Pulling through stubborn knots instead of loosening them gradually.
Paddle Brush
A paddle brush is a practical everyday choice for many straight and wavy hair routines. Its broad shape covers a larger area and can be useful for smoothing and general grooming.
It is not automatically the best choice for every texture. Curly and coily hair may require a different detangling approach, particularly when preserving curl definition.
Good for: Smoothing, brushing, longer straight or wavy hair.
Beginner level: Easy.
Sectioning Clips
Sectioning clips may be one of the most underrated beginner tools.
Instead of trying to style your entire head at once, clips let you divide the hair into manageable sections. This is particularly helpful for thick or long hair and makes heat styling more controlled.
You do not need expensive salon clips. The important feature is that they hold a section securely without making the process awkward.
Good for: Blow-drying, straightening, curling, styling thick hair.
Beginner level: Very easy.
Hair Elastics, Bobby Pins, and Claw Clips
These are not glamorous tools, but they are useful for everyday hairstyles.
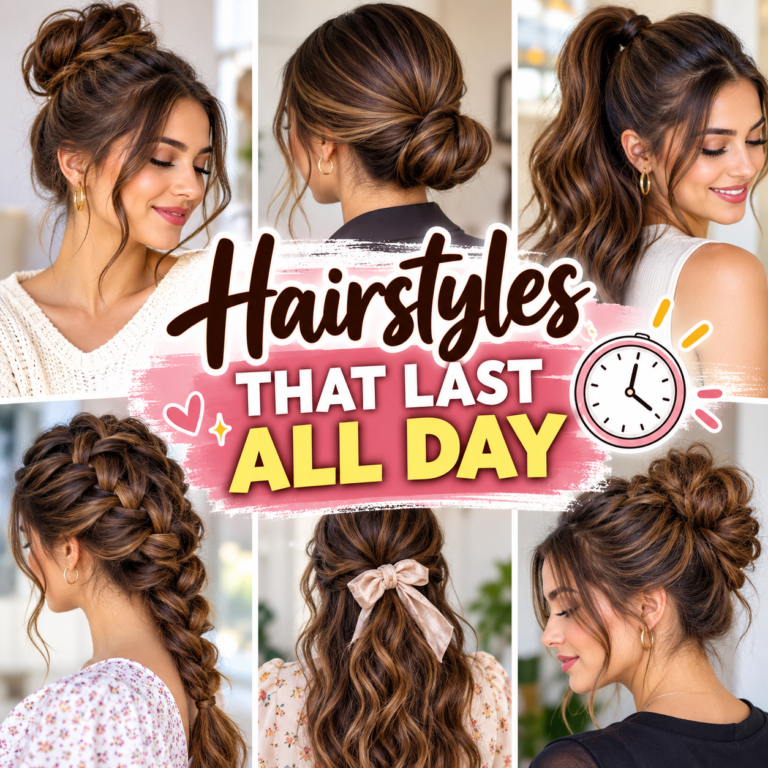
A few good elastics, bobby pins, and clips can create ponytails, buns, simple updos, and secure loose sections without requiring heated equipment.
Be careful with consistently tight hairstyles. The AAD warns that repeated tension from styles such as tightly worn ponytails, braids, cornrows, and extensions can contribute to breakage and, when prolonged, traction-related hair loss.
For practical everyday styling, these accessories are often more useful than adding another electronic tool.
Heat-Styling Tools: Which Ones Do You Actually Need?
Beginners often make one expensive mistake: buying every major heat tool at once.
You usually do not need a hair dryer, flat iron, curling iron, curling wand, hot rollers, heated brush, and multi-styler immediately.
Choose based on your most common styling goal.
Hair Dryer
A hair dryer is useful when you want to dry your hair quickly, create a blowout, add shape, or prepare hair before another styling step.
Useful features include adjustable heat and airflow, comfortable handling, and attachments that match how you style. A concentrator nozzle can help direct airflow, while a diffuser distributes airflow differently for textured styles.
A dryer is not automatically necessary. If you regularly air-dry your hair and rarely create blowouts, you may not need one as part of your first toolkit.
When using a dryer, avoid concentrating very hot air on one spot for a long time. Research on hair-dryer use found that greater temperature exposure was associated with more surface damage, supporting the practical advice to keep the dryer moving rather than holding intense heat over a single section.
Good for: Drying, blowouts, smoothing, volume.
Beginner level: Easy for rough drying; moderate for a polished blowout.
Flat Iron or Straightener
A flat iron is designed primarily for smoothing and straightening, but it can also create bends and some types of waves.
For a beginner, the useful question is not “Do I need a straightener?” but “Will I regularly create styles that require one?”
The American Academy of Dermatology recommends using flat irons on dry hair and using a low or medium heat setting. It also advises limiting use because excessive heat can damage hair.
Good for: Straight styles, sleek looks, bends, some waves.
Beginner level: Moderate.
Skip it when: You rarely want straight or heat-shaped styles.
Curling Iron
A curling iron uses a clamp and heated barrel to create curls or waves.
For beginners, the clamp can provide more control because you do not have to hold the hair directly against a bare barrel for the entire styling process.
Barrel size changes the type of curl you can create, but you do not need several sizes immediately. Start with the size that fits your most common styling goal.
Good for: Curls, waves, volume.
Beginner level: Moderate.
Safety: Keep skin away from the heated barrel and never leave the tool unattended while hot.
Curling Wand
A curling wand does a similar basic job without the traditional clamp.
Some people prefer wands because they can create a more relaxed shape, while others find the lack of a clamp harder to control.
A heat-resistant glove may help with handling, but it does not make direct contact with a hot barrel safe.
Good for: Waves and curls.
Beginner level: Moderate.
Do You Need Both a Straightener and Curling Tool?
Usually, no.
If you mostly want sleek hair, start with a straightener. If curls and waves are your main goal, a curling iron or wand makes more sense.
Some people can create more than one style with a single versatile tool, so buying both immediately can be unnecessary duplication.
Think one tool per major styling need, not one tool per trend.
Useful Optional Tools for Beginners
Once you understand your basic routine, you can add tools that solve specific problems.
Round Brush
A round brush is useful for blowouts, root lift, curved ends, and volume.
The trade-off is the learning curve. Coordinating the dryer, brush, tension, direction, and section size takes practice. Beginners may find a hot-air brush simpler because the brush and airflow are combined.
A round brush is therefore useful, but not mandatory.
Best for: Blowouts, volume, curved ends.
Vent Brush
The open structure of a vent brush is designed to let more airflow through the hair during blow-drying.
It can be useful for basic drying and may appeal to people who prefer a straightforward brush-and-dryer routine.
Best for: Faster, simple blow-drying and basic shaping.
Diffuser
A diffuser is an attachment designed to distribute airflow rather than concentrating it in the same way as a standard nozzle.
It can be particularly useful for people who want to dry wavy or curly hair while maintaining more of its natural pattern.
A diffuser is therefore highly useful for some people but unnecessary for others.
Best for: Wavy, curly, and coily styling routines.
Hot-Air Brush or Dryer Brush
A hot-air brush combines airflow with a brush-like styling surface.
Its main appeal for beginners is simplicity. Instead of coordinating a separate brush and dryer, you work with one tool.
It can be useful for smoothing and creating a basic blowout, but it does not replace every other hair tool.
Best for: Beginner-friendly blowouts and smoothing.
Rollers and Heatless Curlers
Rollers can add volume, bends, or curls without requiring the same type of direct heat exposure as a curling iron.
Heatless methods can also make sense for people who want to experiment with curls or waves without adding another heated device to their collection.
They are optional because their usefulness depends heavily on the hairstyles you enjoy wearing.
Rat-Tail and Fine-Tooth Combs
A rat-tail comb is useful for precise parting and controlled sectioning.
A fine-tooth comb can help with smoothing or detailed styling.
Neither needs to be in every beginner kit. They become more useful when you start doing precise updos, polished ponytails, or more detailed styles.
The Best Tools for Different Hair Types
Instead of asking which tool is universally “best,” choose the tool that matches how your hair behaves.
| Hair type | Tools to consider | Main consideration |
|---|---|---|
| Straight | Paddle brush, detangling tool, dryer, optional flat iron | Smoothing and controlled heat |
| Wavy | Detangling tool, dryer, optional diffuser or round brush | Preserve or reshape natural texture |
| Curly | Wide-tooth comb, suitable detangling tool, diffuser | Gentle handling and curl definition |
| Coily/textured | Wide-tooth comb, suitable detangler, sectioning clips, diffuser where useful | Manage sections and minimize rough manipulation |
| Fine hair | Gentle brush, controlled airflow, lower heat when possible | Avoid unnecessary tension and prolonged heat |
| Thick hair | Sectioning clips, effective airflow, suitable brush | Work in manageable sections |
| Short hair | Smaller brush or comb, targeted dryer, optional iron | Precision and maneuverability |
| Long hair | Detangling tool, sectioning clips, brush, dryer as needed | Sectioning and controlled drying |
The AAD recommends being gentle with hair and adjusting detangling and styling habits according to hair texture. It also recommends limiting excessive heat regardless of hair type.
For fine strands and lower-density hair, tools can help with styling, but no brush or heated device should be presented as a way to permanently increase hair thickness.
Choose Tools by Hairstyle Goal
Sometimes your hairstyle goal tells you more than your hair type.
| Styling goal | Useful tool | Beginner-friendly? |
|---|---|---|
| Detangling | Wide-tooth comb or detangling brush | Yes |
| Straightening | Flat iron | Yes, with proper safety |
| Loose waves | Curling iron, wand, or suitable flat-iron technique | Moderate |
| Curls | Curling iron or wand | Moderate |
| Blowout | Dryer + brush or hot-air brush | Moderate |
| Volume | Round brush, rollers, or hot-air brush | Moderate |
| Curl definition | Diffuser | Depends on hair texture |
| Quick everyday style | Brush + clips + elastics | Yes |
| Ponytail | Brush + comb + elastic | Yes |
| Updo | Comb + pins + clips | Moderate |
| Heatless waves | Rollers or heatless curler | Easy to moderate |
The goal is to avoid buying overlapping tools. If one tool already gives you the result you want, another device may add more clutter than value.
How to Choose a Beginner Hair Dryer
A complicated specification list is not necessary.
Adjustable heat
You want the ability to choose a lower setting instead of being locked into maximum heat.
Adjustable airflow
Different speeds can help you control how aggressively the air moves through your hair.
A useful attachment
A concentrator can be helpful for directed airflow. A diffuser can be useful for many textured-hair routines.
Comfortable weight and controls
A dryer that is awkward to hold can make styling harder, regardless of its other features.
Features that solve a real problem
Ceramic, ionic, infrared, and other technology labels should not automatically convince you that a tool is better. Start with practical controls, suitable attachments, comfort, and the way the tool fits your routine.
How to Use Hairstyling Tools Safely
Good tool selection matters, but technique matters just as much.
Start with proper preparation
Detangle gently, section the hair when helpful, and use a heat-protective product according to its instructions when using heat.
Heat protection should be viewed as a risk-reduction step, not a guarantee that unlimited heat is safe. The AAD recommends limiting heat and using low or medium settings.
Use the lowest effective heat
Do not start at maximum temperature simply because the tool allows it.
More heat can make a style happen faster, but excessive heat also increases the risk of damage.
Keep wet-hair rules in mind
Do not assume every heated tool can be used on damp or wet hair.
Conventional flat irons should be used on dry hair.
Some specialty tools are specifically designed for wet-to-dry styling. Those are different from ordinary flat irons and should be used only according to their instructions.
Keep the dryer moving
Avoid holding intense heat against one section for an extended period. A published experimental study found greater surface damage at higher dryer temperatures and highlighted the importance of distance and movement during drying.
Limit repeated passes
If a straightener or curling tool does not produce the desired result immediately, first check your section size, preparation, tension, and technique before simply turning up the heat.
Handle hot tools carefully
Keep hot tools away from water and flammable surfaces. Follow the manufacturer’s instructions for safe placement, unplug the tool after use, and let it cool completely before storage.
Do not treat heat protectant as an unlimited shield
Research on heat styling shows that heat protection does not make wet or excessive heat exposure harmless. A study examining water and heat-styling damage found greater structural damage when hair was treated with water during the heating process.
The safest approach is still to control the amount of heat, duration, and frequency.
How to Clean and Maintain Your Hairstyling Tools
Tool care is easy to forget, but clean equipment is easier to use.
Brushes and combs
Remove trapped hair regularly and clean the tool according to the material and manufacturer’s instructions.
Product buildup can change how a brush or comb feels against the hair, so do not let layers of styling products accumulate indefinitely.
Heated tools
Always unplug heated tools before cleaning them.
Let them cool completely and follow the manufacturer’s cleaning instructions. Do not immerse electrical styling tools in water unless the manufacturer specifically says the product is designed for that.
Hair dryers
Check the filter and intake area according to the manufacturer’s instructions. Dust and buildup can interfere with airflow.
Check cords and housings
Stop using a tool if the cord, plug, housing, plates, barrel, or controls become damaged or behave unusually.
How to Build a Beginner Hair Styling Kit on a Budget
A useful beginner kit does not have to be expensive.
Start with the basics
A sensible starting point is:
- One suitable detangling tool.
- One everyday brush.
- A few sectioning clips.
- Basic elastics and bobby pins.
- A hair dryer if you actually use one.
- One main heat tool only if your regular hairstyles require it.
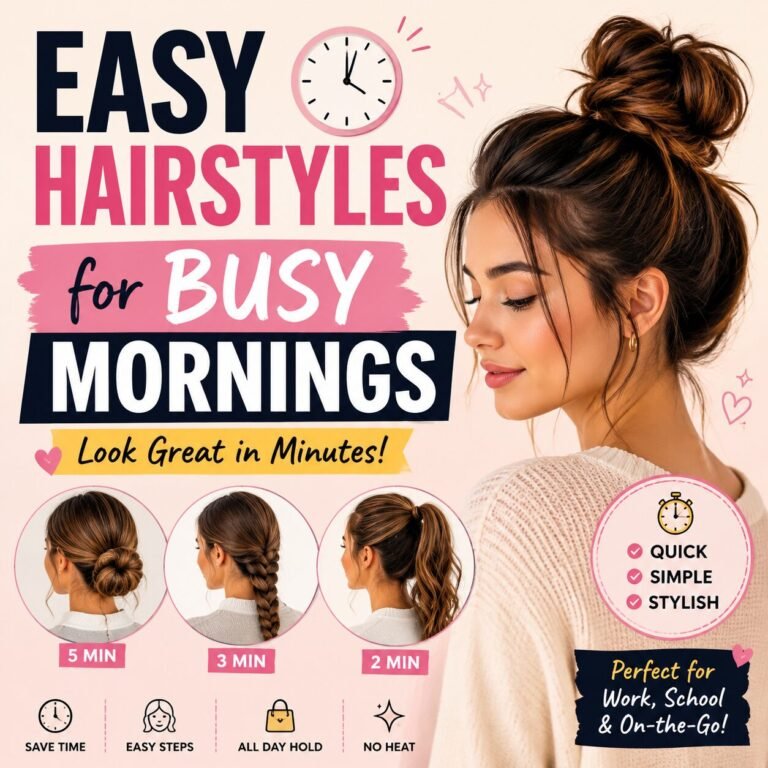
You can put the same approach into practice with easy hairstyles for busy mornings when you want styles that do not require a large collection of equipment.
Spend more only when it solves a problem
A premium tool may make sense if you have identified a genuine need such as poor ergonomics, limited controls, difficult handling, or an attachment you actually use.
Do not spend more simply because a tool has a luxury price tag.
Choose multifunctionality carefully
A tool that performs several useful jobs can reduce the number of devices you need, but multifunctionality is valuable only when you will actually use those functions.
Which Hairstyling Tools Can Beginners Skip?
You can safely skip tools that do not match your routine.
Duplicate tools
There is little value in owning three brushes that perform essentially the same job if one already works.
Advanced multi-stylers
A multi-styler can be convenient, but it is not a requirement for learning how to style your hair.
Specialized crimpers
Buy one only if you genuinely want crimped hairstyles.
Large roller collections
A few rollers can be useful. A full collection is unnecessary until you know that roller styling is part of your routine.
Every brush type
You do not need a paddle brush, round brush, vent brush, teasing brush, boar-bristle brush, and several detanglers at the beginning.
Viral tools
Popularity is not a substitute for usefulness. A tool should earn its place in your kit by solving a real problem.
A Simple Beginner Progression: Start, Add, Upgrade
Start Here
Keep the initial kit small:
- Detangling tool
- Everyday brush
- Sectioning clips
- Elastics and pins
- Dryer if needed
- One styling tool if needed
Add These Next
Once you know your routine, consider:
- Round brush
- Diffuser
- Hot-air brush
- Rollers
- A second heat tool
Consider These Later
Only move toward:
- Multi-stylers
- Advanced attachments
- Automatic curling tools
- Specialized heat tools
- Premium upgrades
when your existing routine shows you exactly why you need them.
Common Beginner Mistakes With Hair Styling Tools
Buying everything at once
You may discover that half your tools rarely leave the drawer.
Choosing by popularity instead of purpose
A viral product can still be the wrong product for your hair.
Starting with maximum heat
Higher heat is not a shortcut to better styling.
Using the wrong brush
A brush that works well for one texture or goal may be frustrating for another.
Using a conventional flat iron on wet hair
Flat irons should be used on dry hair unless the specific device is expressly designed for a different method.
Skipping heat protection
The AAD recommends using a product to protect hair from heat when using heated styling tools.
Not sectioning thick hair
Large sections can make drying and heat styling less controlled.
Pulling through knots
Work gently through tangles rather than forcing a brush or comb through them.
Ignoring maintenance
Dirty brushes and poorly maintained electronic tools make styling harder and can shorten the useful life of equipment.
Ignoring manufacturer instructions
The safest technique for a particular tool starts with the instructions designed for that tool.
Frequently Asked Questions
What hair styling tools should a beginner buy first?
Start with a suitable detangling tool, everyday brush, sectioning clips, basic hair accessories, and a dryer or heat tool only if your routine actually requires one. You do not need every type of styling device.
Is a hair dryer necessary for beginners?
No. It depends on your routine. A dryer is useful if you frequently need to dry your hair quickly, create blowouts, or prepare your hair for styling. If you mostly air-dry and rarely blow-dry, you can begin without one.
Do beginners need both a straightener and a curling iron?
Usually not. Choose the tool that matches your main styling goal. A straightener makes more sense for sleek and straight looks, while a curling iron or wand makes more sense for curls and waves.
What is the best hair brush for a beginner?
There is no universal best brush. A paddle brush can be useful for many straight or wavy routines, while a detangling brush or wide-tooth comb may be more practical for other hair types. Your texture, length, and styling goal should guide the choice.
What hair tools are best for curly or coily hair?
A wide-tooth comb or suitable detangling tool, sectioning clips, and a diffuser may be useful depending on the hair and styling goal. The AAD recommends texture-sensitive handling and emphasizes gentle detangling and limiting excessive heat.
Can beginners use heat styling tools without damaging their hair?
Heat styling can cause damage, but you can reduce unnecessary exposure. Use appropriate settings, avoid excessive heat and repeated passes, use heat protection as directed, and follow the manufacturer’s instructions. The AAD specifically recommends low or medium heat for flat irons and curling tools and limiting excessive heat exposure.
Are expensive hair styling tools better for beginners?
Not automatically. A beginner usually benefits more from appropriate controls, comfortable handling, useful attachments, and a tool that matches the desired hairstyle. Price alone does not determine suitability.
Which hairstyling tools can beginners skip?
Skip tools that duplicate something you already own or serve a hairstyle you never create. Specialized crimpers, multiple overlapping brushes, large roller collections, and advanced multi-stylers can usually wait until you have a clear reason to buy them.
Final Takeaway
The best beginner hairstyling kit is not the biggest one. It is the one that makes your usual routine easier.
Start with a way to detangle and brush your hair, a few simple sectioning and securing accessories, and a dryer or heat-styling tool only when it matches your real styling goals. Then add optional tools when you discover a specific need.
Your hair type, hair length, preferred hairstyles, technique, and heat habits matter more than owning the newest gadget. With a small toolkit and good technique, you can create a surprising range of styles without filling your bathroom with tools you rarely use.