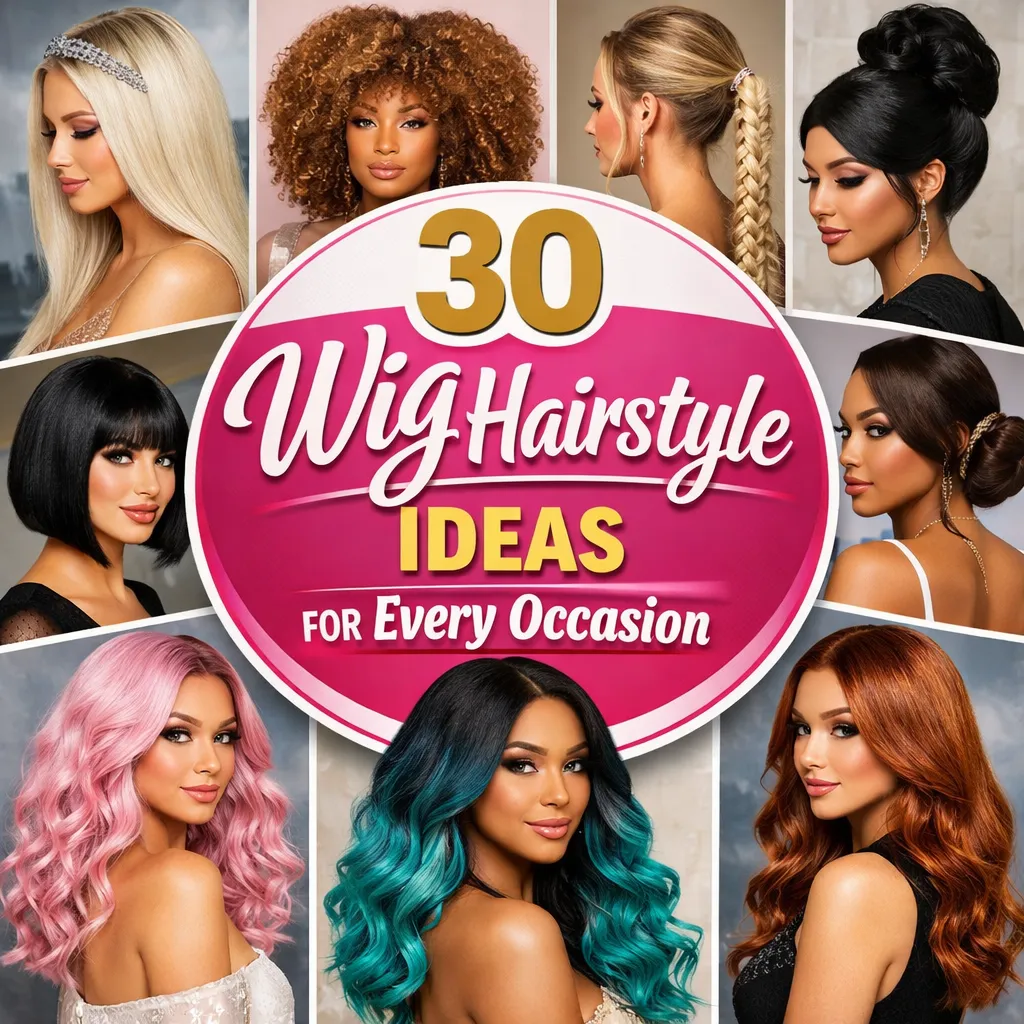
Wigs have become a versatile and stylish accessory for all occasions, offering endless possibilities to transform your look effortlessly.
Whether you’re looking to add volume, experiment with color, or simply switch up your style, wigs provide a fun and easy way to try out different hairstyles without the commitment.
From chic updos for formal events to trendy beach waves for a casual day out, there’s a wig for every personality and occasion.
In this article, we’ve curated 30 stunning wig hairstyle ideas to inspire your next look.
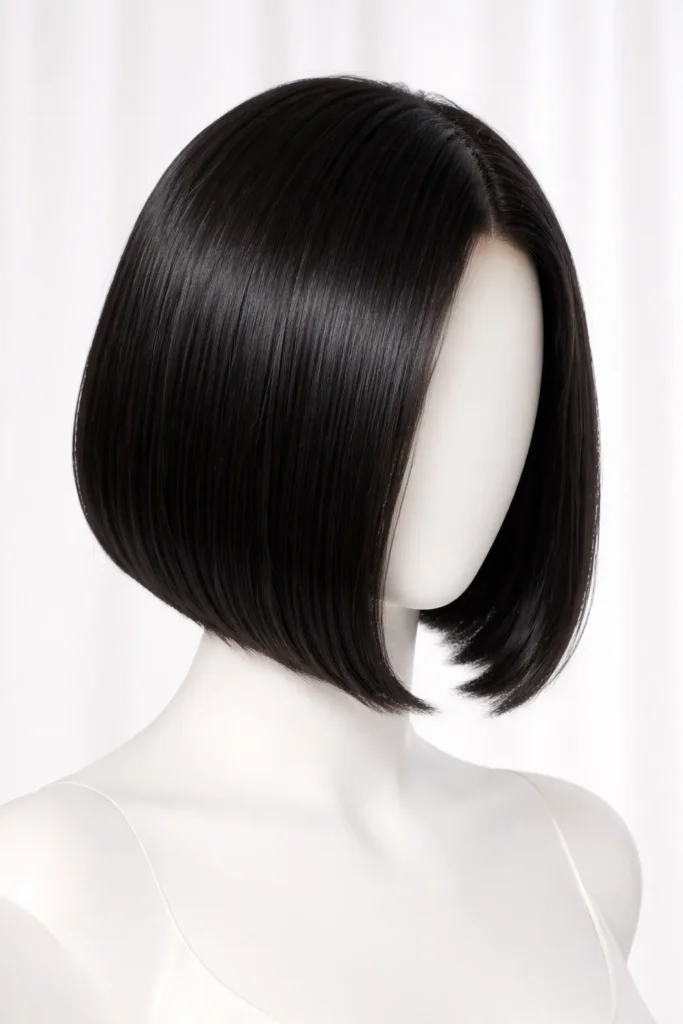
1. Sleek Straight Bob
- Material: A high-quality synthetic or human hair bob wig.
- Time Period: 10–15 minutes for styling.
- Method: Start by placing your wig on a mannequin or wig stand. Use a flat iron to smooth out any waves or curls. For extra sleekness, apply a lightweight serum or smoothing cream to the hair for shine and frizz control. Comb through with a wide-tooth comb to prevent any tangles. Ensure the bob is even and falls neatly to your desired length.
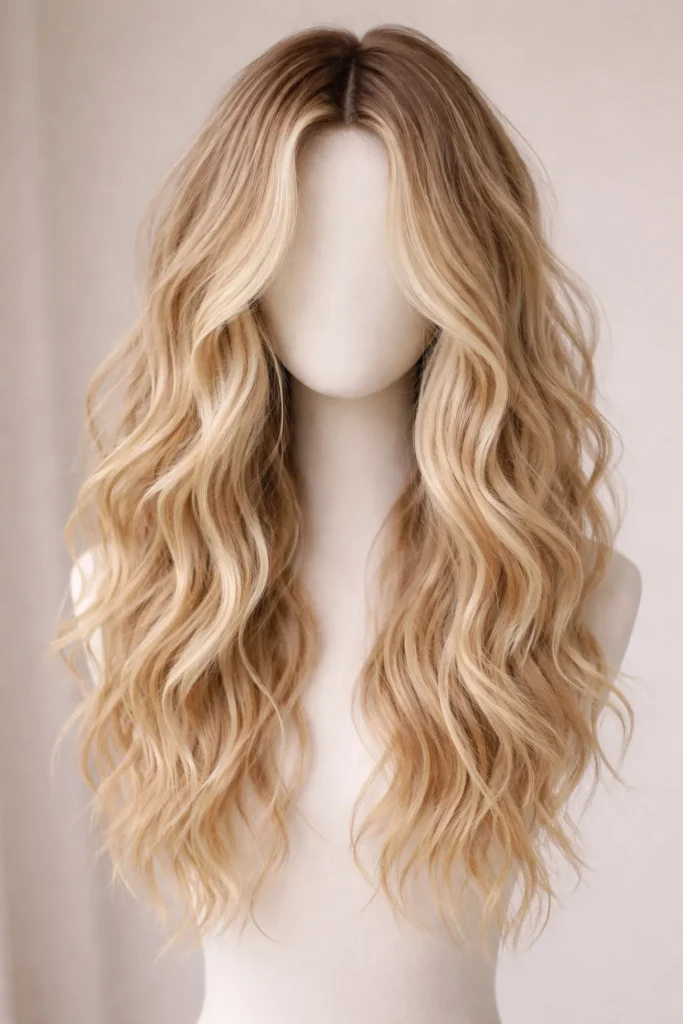
2. Loose Beach Waves
- Material: Beach wave wig, preferably with a soft texture for natural waves.
- Time Period: 20–30 minutes.
- Method: Begin by brushing out your wig to remove tangles. Use a curling iron to create soft, loose curls. Focus on the middle sections of the wig to achieve effortless waves. Once done, apply a texturizing spray to enhance the waves and provide a beachy, tousled look. Finish by using your fingers to gently separate the curls, giving them a more natural look.
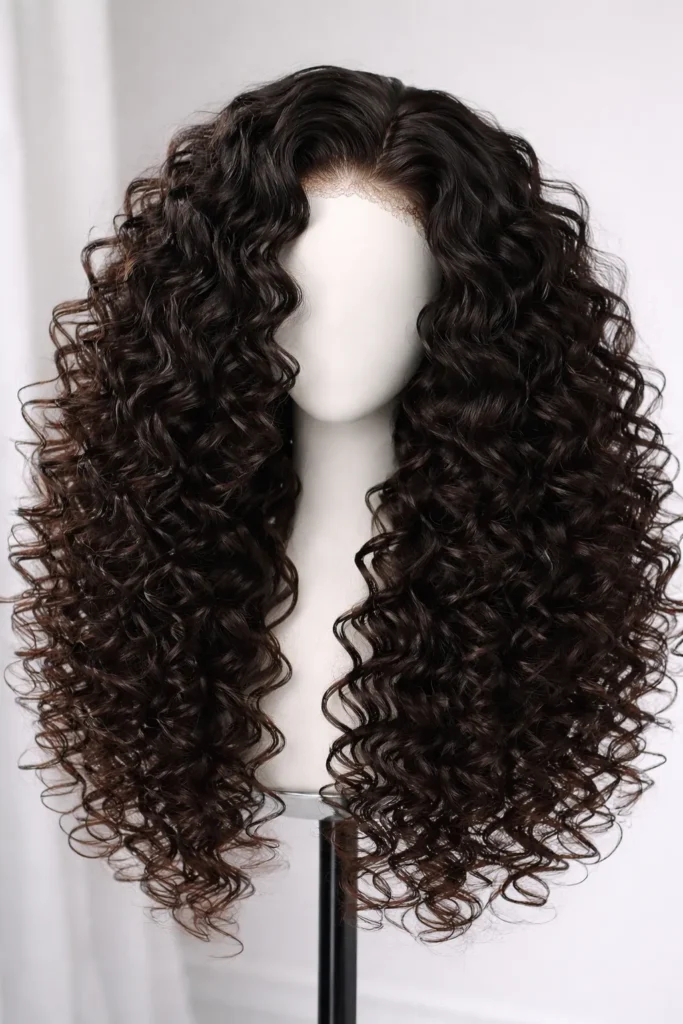
3. Curly Afro
- Material: Afro-textured curly wig.
- Time Period: 10–15 minutes.
- Method: Carefully fluff out the curls with a wide-tooth comb or your fingers. Apply a curl cream or mousse to keep the curls defined and bouncy. Use a blow-dryer with a diffuser to help separate and shape the curls if needed. For added volume, lift the roots and shape the hair with your fingers.

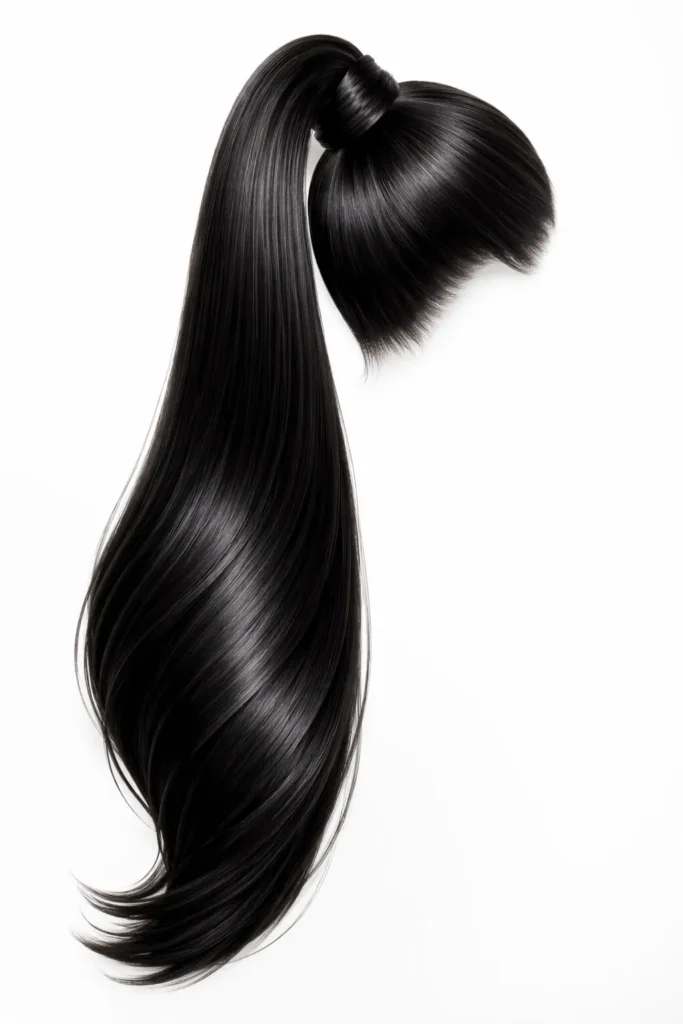
4. High Ponytail
- Material: Straight or wavy wig, elastic bands, and bobby pins.
- Time Period: 15 minutes.
- Method: Brush through the wig and pull it into a high ponytail at the crown of your head. Secure with an elastic band and wrap a small section of hair around the base to cover the band. Secure the wrapped section with a bobby pin. Use a flat iron to straighten any flyaways, or leave a few pieces loose for a more casual, textured look.
5. Classic Curls
- Material: Wig with soft, bouncy curls.
- Time Period: 30 minutes.
- Method: If your wig is not pre-curled, use a curling iron to create uniform curls. Divide the wig into sections and curl small portions at a time, holding for 5–10 seconds. Once all sections are curled, gently comb through with your fingers to break up the curls for a more natural look. Finish with a hairspray to hold the curls in place without weighing them down.
6. Messy Bun
- Material: Medium-length wig.
- Time Period: 15 minutes.
- Method: Brush through the wig to detangle it, then pull the hair into a loose bun at the back of your head. Allow a few pieces to fall freely around your face for a more relaxed look. Secure the bun with bobby pins and apply a little texturizing spray for a messy, effortless finish. For added volume, gently tug at the sides of the bun.
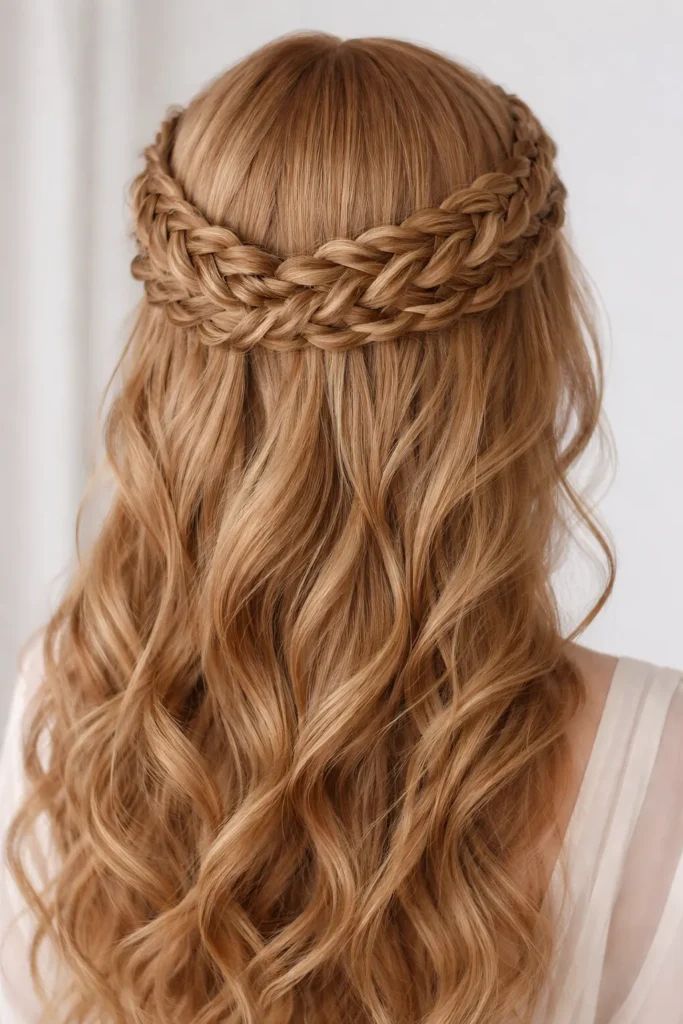
7. Braided Crown
- Material: Long, straight or wavy wig.
- Time Period: 20–30 minutes.
- Method: Start by parting your wig down the center. Create two small braids on each side of your head. Once both braids are done, wrap them around the top of your head like a crown, securing them with bobby pins. For a more intricate look, add flowers or hair accessories to the braids. Lightly tug the braids to loosen them for a more voluminous crown.
8. Side Swept Waves
- Material: Long, wavy wig.
- Time Period: 20 minutes.
- Method: Use a curling iron to create loose waves throughout the wig. After curling, part the wig to one side and brush the waves over to the opposite shoulder for a dramatic effect. Apply a light hairspray to hold the waves in place while keeping the movement soft and natural.
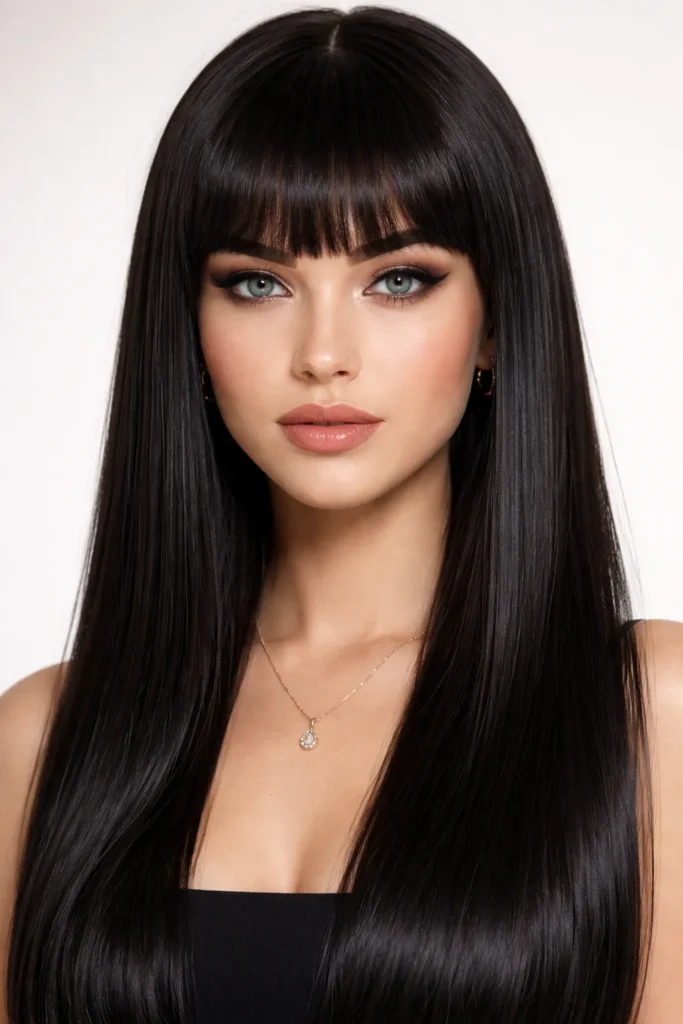
9. Straight with Bangs
- Material: Straight wig with bangs.
- Time Period: 10–15 minutes.
- Method: If your wig has pre-cut bangs, simply straighten the hair using a flat iron. If not, trim the front pieces of the wig to create a straight-across fringe. Use a round brush to smooth out the hair, adding shine serum for a glossy finish. Style the bangs so they fall neatly on the forehead for a polished look.
10. Voluminous Curls
- Material: Full, curly wig.
- Time Period: 25 minutes.
- Method: Create tight curls with a curling iron or use a pre-curled wig. Once curled, separate the curls using your fingers to create volume. Apply a volumizing mousse to boost the texture and give the curls a more lively appearance. Finish with a light hairspray to set the style without weighing the curls down.
11. Sleek Side Part
- Material: Long, straight wig.
- Time Period: 15 minutes.
- Method: Part the wig deeply to one side. Use a flat iron to smooth the wig into a sleek and polished style. For a more dramatic side part, tuck one side behind your ear, leaving the other side to cascade over your shoulder. Apply a shine serum to enhance the glossiness of the hair.
- Image Prompt: A straight wig styled with a deep side part and a sleek, polished finish.
12. Fishtail Braid
- Material: Long wig.
- Time Period: 20 minutes.
- Method: Start by dividing the wig into two sections. Begin braiding the hair by crossing small strands from each section over each other, creating a fishtail effect. Secure the end with a clear elastic band. Gently pull the braid apart for a looser, more relaxed style.
- Image Prompt: A beautiful fishtail braid wig, with a relaxed, textured finish.
13. Messy Half-Up Bun
- Material: Medium-length wig.
- Time Period: 10 minutes.
- Method: Part the wig down the center. Take a small section of hair from the top and twist it into a loose bun, securing it with a hair tie. Leave the rest of the hair loose, creating a messy and casual look. Use a little dry shampoo or texture spray to add volume to the loose hair.
- Image Prompt: A half-up bun wig, with loose strands falling casually around the face.
14. Chic Pixie Cut
- Material: Short pixie wig.
- Time Period: 5–10 minutes.
- Method: Simply style the wig to your desired shape, either using your fingers or a comb. Add some texture cream or mousse to give the pixie cut more volume and definition. For a more edgy look, use a flat iron to straighten some sections and create contrast with the natural texture.
- Image Prompt: A pixie cut wig styled for an edgy, chic appearance.
15. Twisted Low Bun
- Material: Mid-length wig.
- Time Period: 15 minutes.
- Method: Twist sections of hair into small ropes and wrap them around the nape of your neck to create a low, twisted bun. Secure the bun with bobby pins and gently tug at the twists to create a fuller, more voluminous effect. For extra flair, leave a few pieces of hair loose around the face.
- Image Prompt: A chic twisted low bun wig with a relaxed and elegant vibe.
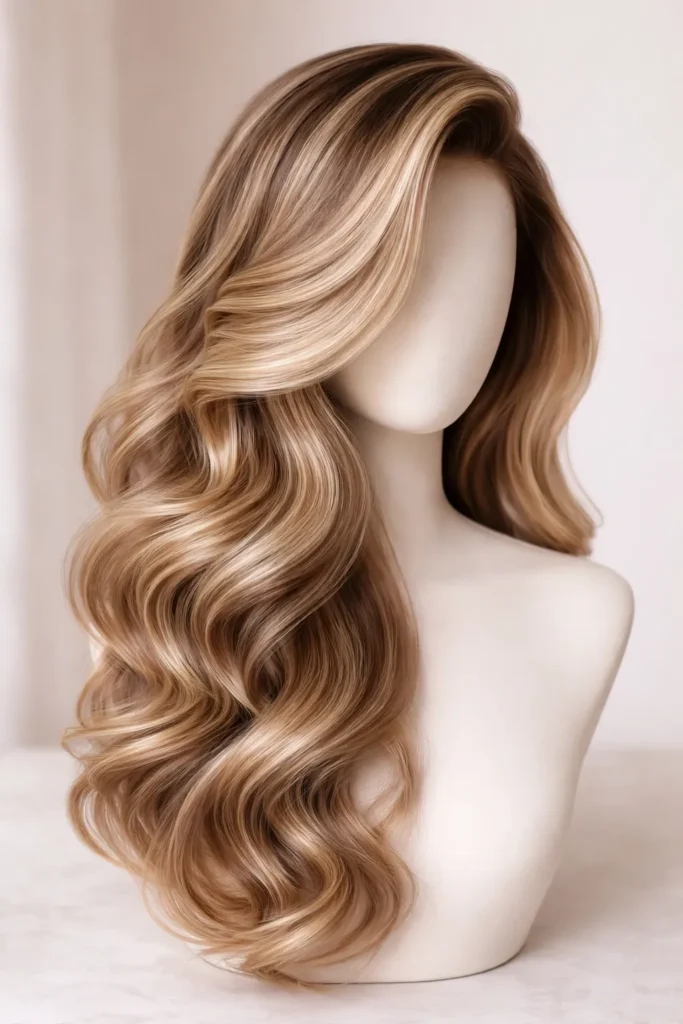
16. Cascading Curls
- Material: Long, pre-curled wig.
- Time Period: 20 minutes.
- Method: For a romantic look, start by brushing the curls out to separate them into distinct, bouncy sections. Use a curling iron if necessary to redefine any loose curls. Part the wig to one side and let the curls cascade down your back or shoulders. Apply a light hairspray to hold the shape while maintaining the movement of the curls.
- Image Prompt: A cascading curl wig with soft, voluminous curls flowing down.
17. Layered Shag Cut
- Material: Layered shag wig.
- Time Period: 15 minutes.
- Method: A shag cut wig often comes with layers that naturally add texture and volume. For an effortless, rocker-chic vibe, tousle the wig with your fingers, enhancing the layers. Apply a lightweight styling gel or mousse to give it a natural, messy appearance. For extra volume, gently pull at the roots and use a blow-dryer with a diffuser.
- Image Prompt: A textured, layered shag wig with a relaxed, carefree look.
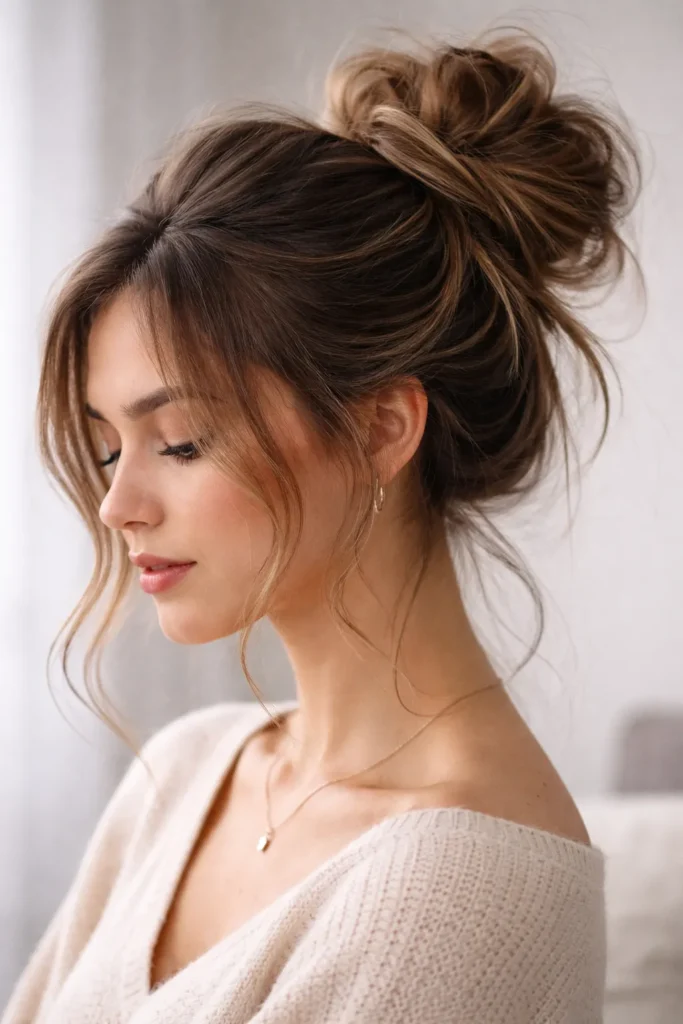
18. High Bun with Loose Strands
- Material: Long or medium-length wig.
- Time Period: 10 minutes.
- Method: Create a high bun by gathering all the hair at the crown of your head. Secure it with a hair tie, then wrap some hair around the base to hide the tie and pin it securely. Allow a few strands to fall loose around your face for a more casual and effortless look. Use a little texturizing spray for extra volume and hold.
- Image Prompt: A high bun wig with loose strands framing the face for a relaxed, elegant finish.
19. Twisted Half-Up Half-Down
- Material: Long wig.
- Time Period: 15 minutes.
- Method: Divide the hair into two sections—top and bottom. Twist small sections of hair from the top part and secure them at the back with bobby pins to create the half-up look. Leave the rest of the hair loose and soft. For an added touch, curl the loose hair to create waves or a little texture.
- Image Prompt: A half-up half-down wig with twisted sections, showcasing an elegant and stylish look.
20. Sleek Low Ponytail
- Material: Straight or slightly wavy wig.
- Time Period: 10 minutes.
- Method: Comb the wig thoroughly to remove any tangles. Pull the hair into a low ponytail at the nape of your neck and secure it with an elastic band. Wrap a small section of hair around the base of the ponytail to conceal the elastic and secure it with bobby pins. Use a straightener to smooth out any bumps for a sleek finish.
- Image Prompt: A sleek, low ponytail wig with a sophisticated, polished appearance.
21. Side-Swept Bangs with Long Waves
- Material: Wig with long waves and side-swept bangs.
- Time Period: 20–30 minutes.
- Method: Part the wig deeply on one side to create the bangs. Use a flat iron to smooth out any unruly sections and make the bangs fall neatly over one eye. Curl the remaining hair in loose waves for a soft, romantic look. Lightly tousle the waves with your fingers for a natural effect.
- Image Prompt: A wig styled with long waves and side-swept bangs, offering a soft, elegant look.
22. Voluminous Top Knot
- Material: Long or medium-length wig.
- Time Period: 15 minutes.
- Method: Pull the wig’s hair into a high ponytail and secure it with an elastic. Twist the ponytail into a bun and secure it with bobby pins. Use a volumizing spray at the roots to create extra height and fullness in the knot. Leave a few strands loose for a more relaxed appearance, or keep the knot neat for a polished look.
- Image Prompt: A voluminous top knot wig with a sleek and modern finish.
23. Loose French Braid
- Material: Long, straight wig.
- Time Period: 20 minutes.
- Method: Start by parting the wig to your desired side. Create a loose French braid starting at the top of the head and working your way down. Keep the braid loose to give it a soft, boho vibe. Once you reach the end, secure it with a small elastic band. For added texture, gently pull at the braid to make it appear fuller.
- Image Prompt: A loose, relaxed French braid wig with a soft, bohemian look.
24. Bubble Ponytail
- Material: Long, straight or wavy wig.
- Time Period: 15 minutes.
- Method: Begin by pulling the wig’s hair into a high ponytail. Create additional ponytails down the length of the hair by securing them with elastic bands at regular intervals. Once you’ve created multiple sections, gently pull at each bubble to create volume and shape. This fun, playful style is perfect for a casual day out.
- Image Prompt: A bubble ponytail wig, with voluminous and playful sections.
25. Chignon Bun
- Material: Medium-length wig.
- Time Period: 20 minutes.
- Method: Create a low chignon by twisting sections of the wig’s hair and rolling them into a bun at the nape of your neck. Secure the chignon with bobby pins and hairspray for a sleek finish. You can also leave a few wisps of hair loose around the face for a more romantic and soft appearance.
- Image Prompt: A chic chignon bun wig styled for an elegant look.
26. Elegant Waterfall Braid
- Material: Long, straight or wavy wig.
- Time Period: 20 minutes.
- Method: Start by parting the wig down the middle. Begin a braid at one side of your head and allow each section of hair to cascade down over the rest of the wig, creating a waterfall effect. Secure with bobby pins as needed. This look is perfect for formal events or as a creative way to add texture to your wig.
- Image Prompt: A cascading waterfall braid wig, elegantly styled for a formal look.
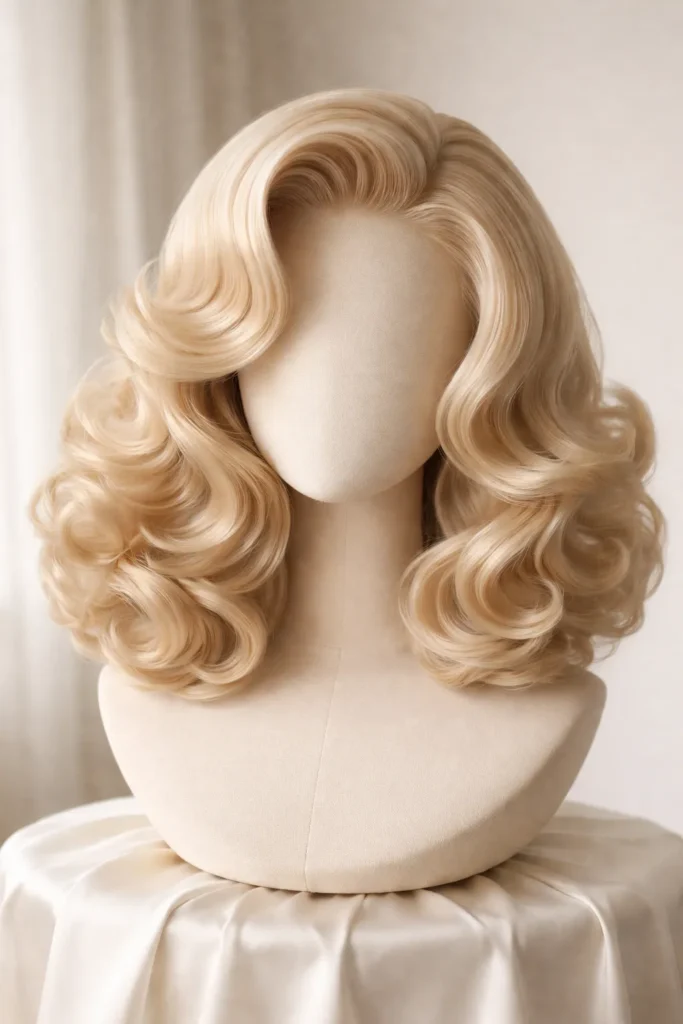
27. Retro Pin-Up Curls
- Material: Medium to long curly wig.
- Time Period: 25 minutes.
- Method: Create vintage-inspired curls by setting the hair in large rollers or using a curling iron to make big curls. Once the curls are set, tease the roots for extra volume. Finish the look by styling the curls into a soft, pin-up fashion, using hairspray to hold the curls in place.
- Image Prompt: A retro pin-up curl wig styled to perfection for a vintage, glamorous look.
28. Layered Side Swept Curls
- Material: Long, layered wig.
- Time Period: 20 minutes.
- Method: Create soft curls using a curling iron or wand. Focus on the mid-lengths and ends to add body and movement. Part the hair to one side and sweep the curls across the face for an asymmetrical look. This elegant hairstyle can be styled for both casual and formal events.
- Image Prompt: A side-swept curly wig styled with layers for movement and volume.
29. Textured Lob
- Material: A lob wig with some texture.
- Time Period: 15 minutes.
- Method: A lob, or long bob, is a versatile cut that can be styled in various ways. Use a flat iron to add texture by lightly bending the ends inward or outward. Add a texturizing spray to enhance the look and create a natural, beachy feel. This is a great option for a modern, effortless appearance.
- Image Prompt: A textured lob wig styled to add volume and movement at the ends.
30. Sleek Layered Shag
- Material: Medium to long shag wig.
- Time Period: 15 minutes.
- Method: Layer the wig for a shaggy, textured look that’s perfect for casual days. Brush through to separate the layers and create volume. Apply a small amount of styling gel to give definition to each layer. For a more polished look, add a light straightening iron to smooth the hair.
- Image Prompt: A sleek layered shag wig, styled for a modern, edgy vibe.
These 30 chic and stylish wig hairstyles offer you endless options to experiment with your look, no matter the occasion. Whether you’re going for something casual or more formal, these step-by-step methods will guide you in creating the perfect wig style that suits your needs!